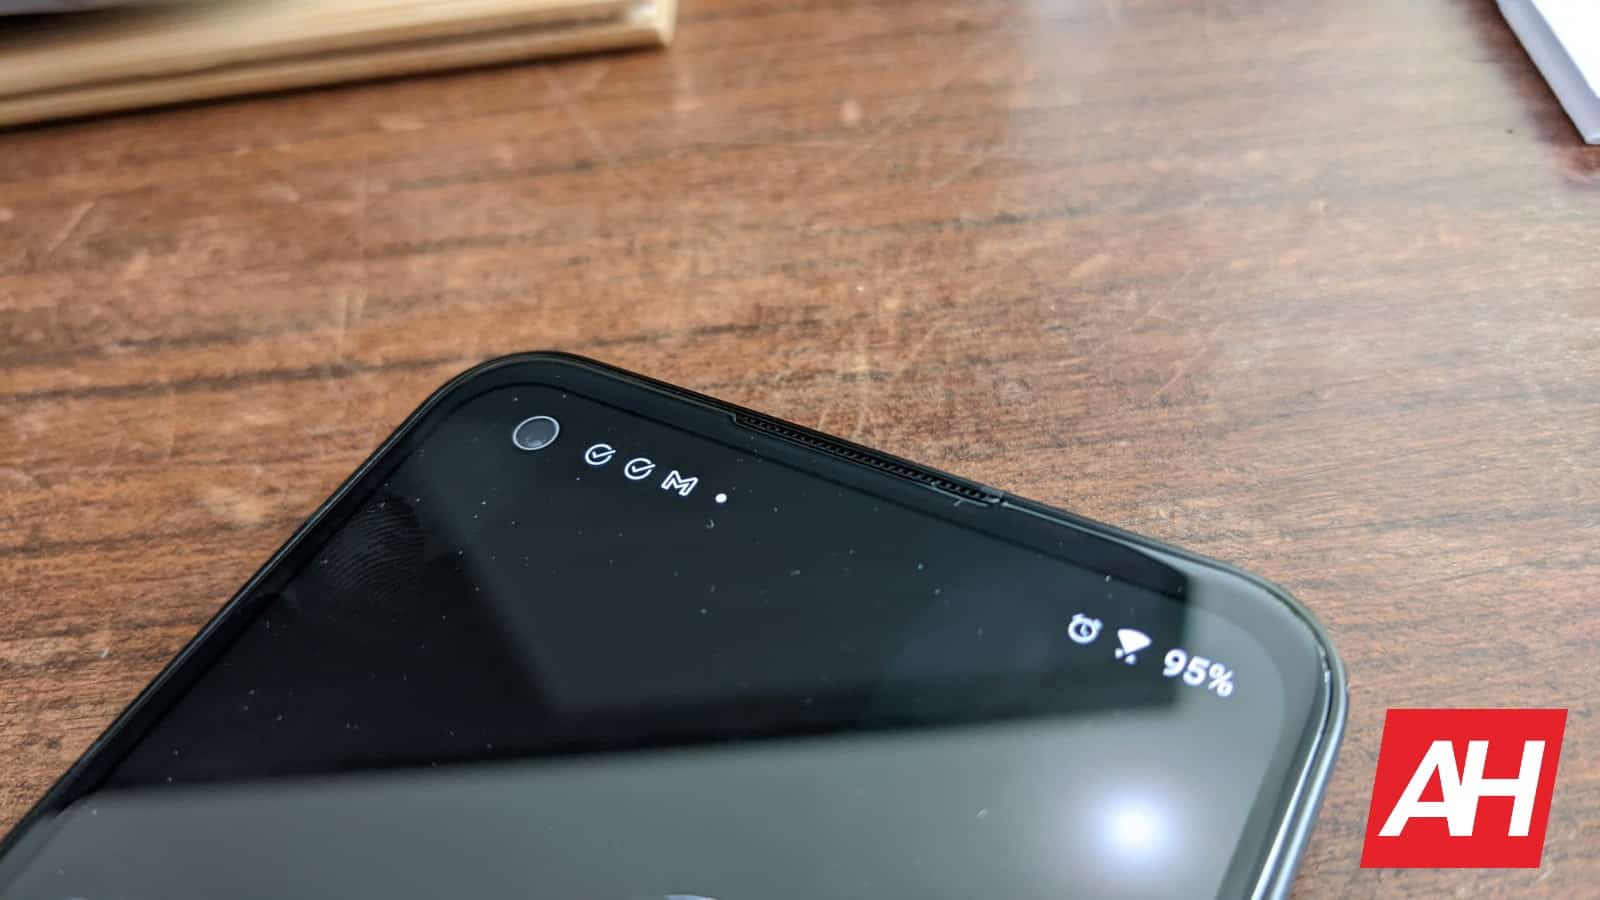
The ASUS ZenFone 9 is a great compact Android smartphone. That much we were able to gather during our review period, and after it. It not only comes with a great, compact design, and compelling specs, but its software is also really good. The ZenFone 9 includes ZenUI on top of Android 12. Think of it as stock Android software with a number of useful features on top of it. One of those features enables you to customize the status bar icons on the ZenFone 9, and in this article, we’ll show you how to do it.
Why can this be useful? Well, thanks to this feature, you can completely remove whichever icons you want from the status bar. If you don’t want the Bluetooth connection icon to bother you, as your phone is constantly connected to your smartwatch either way, you can disable it. You can also disable the mobile data icon if you need it, and various others. Keep your status bar as clean as you want it. You can even remove the clock if you want. That being said, we’ll show you how to do all that here. You’ll find a step-by-step guide below, along with belonging screenshots.
How to customize status bar icons on the ZenFone 9
The first thing you’ll need to do is open your phone’s Settings. You can do that via the app tray, or by swiping the notification shade down twice. Let’s do it the old fashion way for the purposes of this guide. Swipe up on the home screen, and find ‘Settings’ in your app drawer.
Once you do that, you’ll notice a bunch of options in the Settings. The one we’re looking for is under the ‘Display’ sub-menu, so track it down.
When you enter the ‘Display’ settings, you’ll need to scroll down until you see the ‘Status bar icon manager’ menu. Open in.
Here you’ll see a ton of options. You’ll see each icon that can be shown in the status bar (other than notification icons), and a toggle next to them. Via this toggle, you can enable or disable that icon, so you can basically prevent it from showing up at all. Go through the list, and choose which ones you need, and which ones you do not. It’s as simple as that. Once you’re done, simply leave that menu and you’re good to go.
There you have it, you’ve customized status bar icons on the ASUS ZenFone 9. Some people prefer to have their status bar as clean as possible, so they disable most of those icons. The point is, you have options, which is not something many other smartphones offer you.
The post How To Customize Status Bar Icons On The ASUS ZenFone 9 appeared first on Android Headlines.
![]()
Source: ndroidheadlines.com
