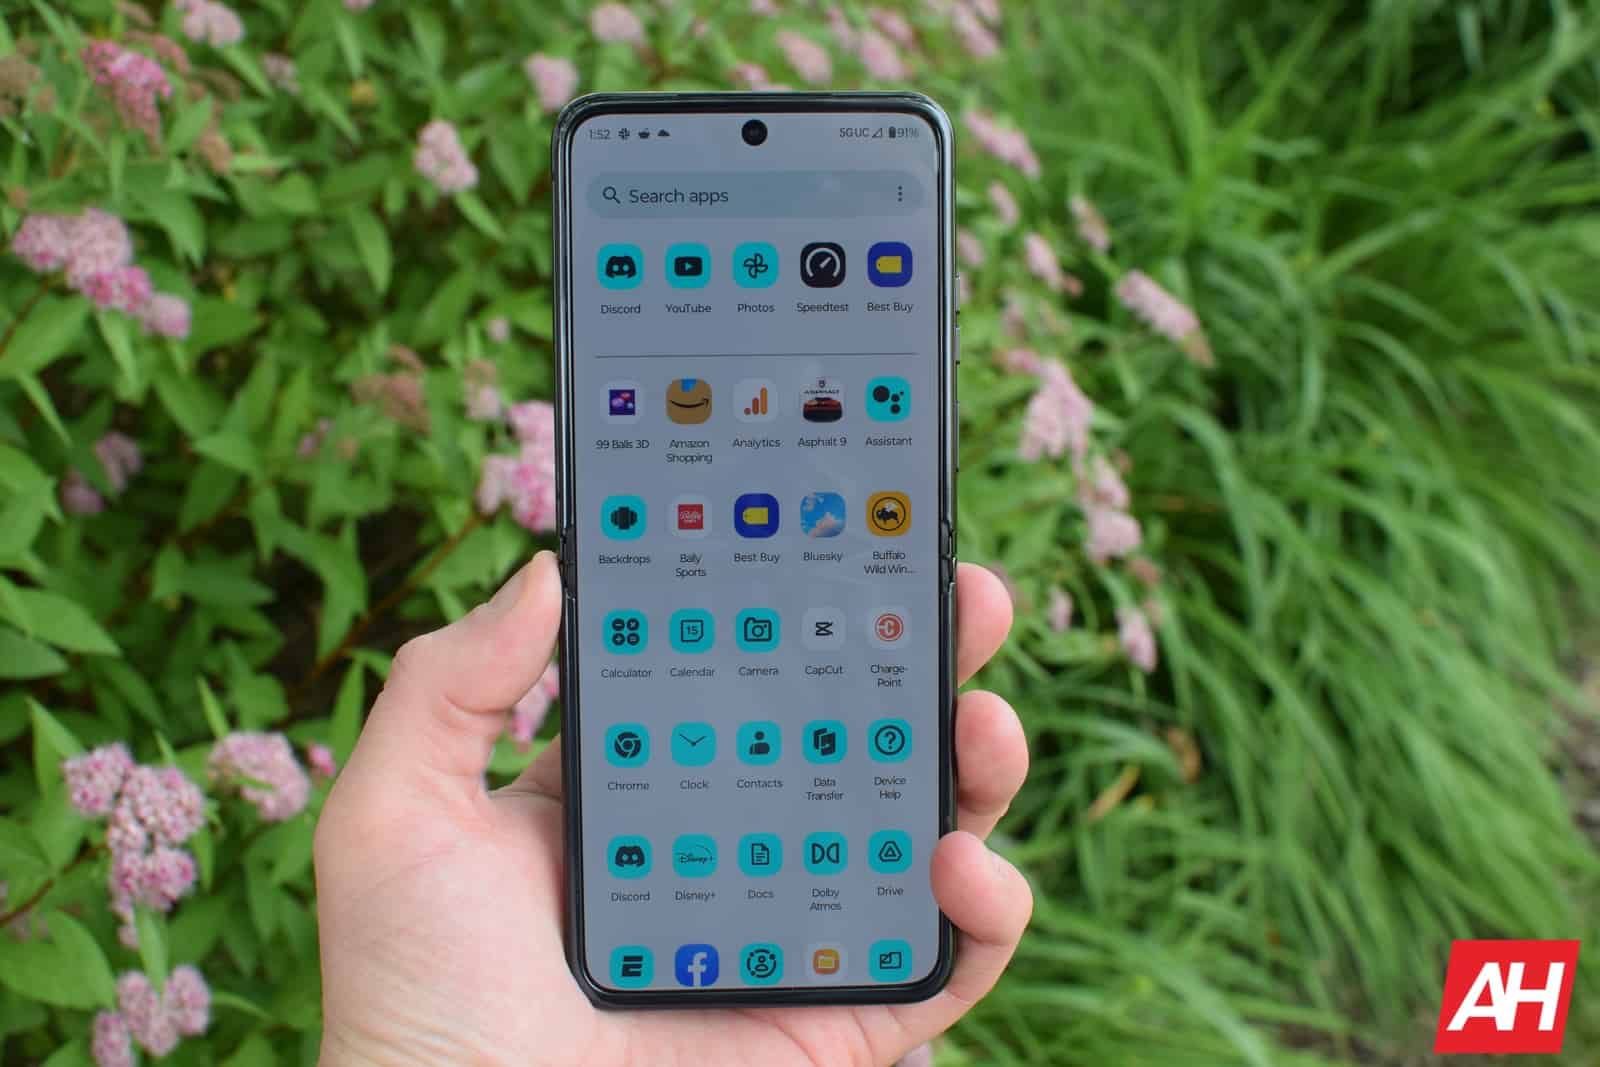
Wondering how you can take a screenshot on the new Motorola Razr+ (2023)? It’s actually quite simple, and Motorola also gives you three different ways that it can be done. In this article, we will detail how you can take a screenshot on the new Motorola Razr+. So without further ado, let’s get started.
How to take a screenshot on Motorola Razr+
There are three ways that you can take a screenshot on the new Razr+. And we’re going to detail each way, down below. So let’s get started.
Three-finger swipe
One of the new ways you can take a screenshot on the Razr+ is by using three fingers and swiping down on the screen. Now you will first need to enable this:
Go into Settings.
Tap on Gestures.
Tap on Three finger screenshot.
Now tap the toggle to turn it on.
Now, you will be able to take three fingers and swipe down on the screen, to take a screenshot. This will work on both screens too.
Quick Settings
The next way to take a screenshot is with the Quick Settings toggle. You can simply pull down your notification shade, and tap on “Screenshot”. That will automatically take a screenshot for you.
This is a default quick setting, so if you’ve edited the quick setting toggles at all, you’ll want to go back and edit them to add it back. Just tap on the pencil icon and add the Screenshot option back.
Power + Volume Down
The final way that you can take a screenshot is with pressing the Power and Volume Down buttons together. Just like you can on any other smartphone these days. Just press those together for a few seconds, and you’ll see the animation show up that a screenshot has been taken.
Now, next to the screenshot, you’ll see a few options for a scrolling screenshot, editing it and sharing it. Or you can just tap on the screenshot to edit it. This makes sharing and editing a whole lot easier.
The post How to take a screenshot on Motorola Razr+ (2023) appeared first on Android Headlines.

Source: ndroidheadlines.com
